Do you want to know how to keep your car shiny and new for years? A ceramic coating can help you achieve this goal. A ceramic coating is a durable, long-lasting solution that protects your car’s paint from external factors like UV rays, bird droppings, dirt, and light scratches. In this guide, we’ll walk through how to apply ceramic coating step by step, including a couple of details that trip up a lot of first-timers.
In this post, we will guide you through the step-by-step process of how to apply ceramic coating to your car.
1. Prepare Your Car Before Applying Ceramic Coating
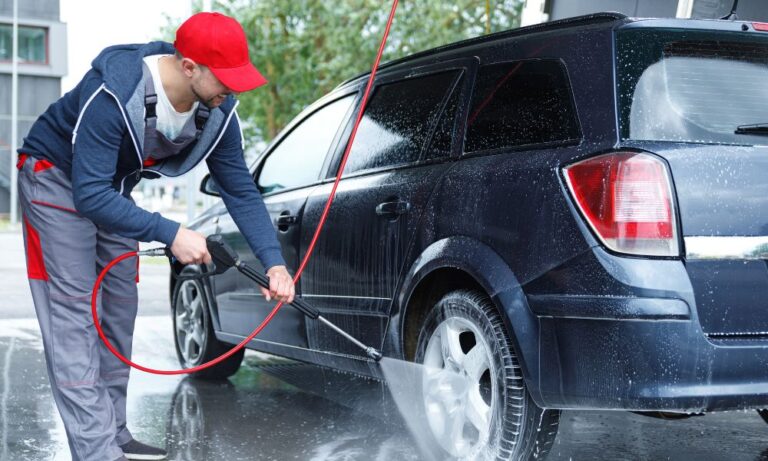
Before applying the ceramic coating, you need to prepare your car. Start by washing your car to get rid of all the dirt, grime, and debris. After washing, dry your car with a microfiber towel. The next step is to clay the car for a smooth surface. Finally, use isopropyl alcohol to remove all the wax and grease residue, since the coating needs to bond directly to clean paint.
2. Choose the Right Conditions
This step gets skipped constantly, and it’s the biggest single factor in whether your application goes smoothly. Work in a shaded, indoor space like a garage, never in direct sunlight, and ideally with the ambient temperature somewhere between 50 and 80°F. Direct sun and hot panels make the coating flash and start curing far too quickly to level properly, which is the leading cause of streaks and high spots. If your only option is outdoors, pick early morning or evening and make sure the panels are cool to the touch before you start.
3. Apply the Ceramic Coating One Panel at a Time
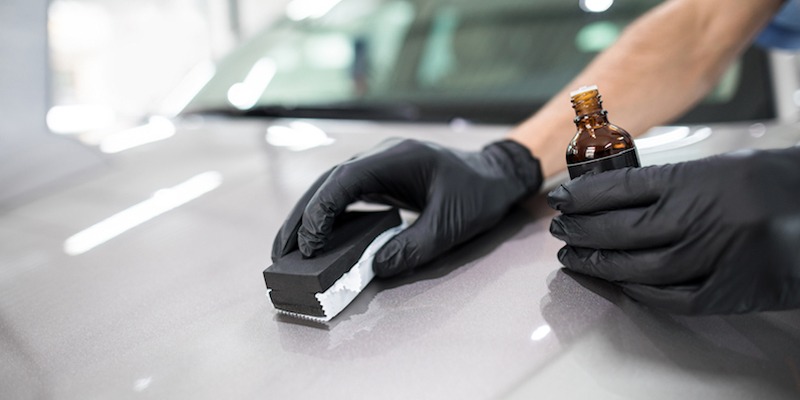
Work on one panel at a time rather than coating the entire car before wiping anything off; trying to cover the whole vehicle first is one of the most common mistakes, since the coating on the first panels you did will start curing before you ever get to them with a towel. Apply a few drops to a foam or microsuede applicator and spread it across one panel in overlapping horizontal and vertical passes for even coverage.
Watch the panel rather than a clock: the coating is ready to buff off when it shows a slight haze or rainbow-like sheen, typically somewhere between 30 seconds and 2 minutes depending on temperature and humidity, though it’s worth checking your specific product’s instructions for its exact flash time. Buff it off with a clean microfiber towel in light, straight passes before moving to the next panel. Buffing too early can remove the coating before it bonds, while waiting too long makes it hard to remove and can leave high spots.
4. Let the Ceramic Coating Cure Properly
After applying the coating, let it cure for 24 to 48 hours in a dry, cool place, and keep your car safe from rain, moisture, or any other external factors that might affect the coating’s bonding during that window. Before you consider the job done, walk around the car in full daylight and check each panel from a few angles; a missed high spot that’s invisible under garage lighting often shows up clearly in the sun. If you find one, don’t panic, it’s a minor touch-up, not a disaster, and can typically be corrected with a light polish and a small recoat of that area.
5. Apply Second Coat (Optional)
For added protection, you can apply a second coat after the first has fully cured, typically 24-48 hours later. Follow the same steps as the first coat, working one panel at a time in the right conditions, and wait for a full cure again before letting the car get wet or washing it.
6. Maintain Your Car After Ceramic Coating Application
Once your ceramic coating is applied, maintain it regularly. Use a pH-neutral shampoo to clean your car and avoid harsh chemicals or acid-based products, which can degrade the coating over time. Dry your car with a microfiber towel to prevent water spots. If you notice light scratches or swirls in the coating, only use products specifically labeled as safe for ceramic coatings; many standard scratch removers and polishing compounds are abrasive enough to cut straight through the coating rather than just fixing the paint underneath.
Conclusion
Applying ceramic coating isn’t complicated, but a few details make the difference between a flawless finish and a streaky one: working in the right conditions, coating one panel at a time, and watching for the haze rather than a fixed clock. Get those right, and you’ll end up with long-lasting protection and a noticeably deeper shine.
With proper application and maintenance, your coating will provide protection for years.
Frequently Asked Questions
Can I apply ceramic coating in direct sunlight?
It’s best to avoid it. Direct sun and hot panels cause the coating to flash and cure too quickly to level properly, which is the leading cause of streaks and high spots. Work in shade or indoors instead.
What happens if I wait too long to wipe off the coating?
If the coating is left on too long, it becomes difficult to remove and can leave high spots, small areas of excess coating that show up as smudges or streaks in the light. These are fixable with a light polish and recoat, but easier to avoid by not overworking the coating on multiple panels at once.
Can I use a regular scratch remover on ceramic-coated paint?
Not always safely. Many standard scratch removers and polishing compounds are abrasive enough to cut through the ceramic coating itself. Only use products specifically labeled as safe for ceramic coatings.
How do I know when the coating is ready to buff off?
Watch for the coating to shift from wet and glossy to a slight haze or rainbow-like sheen, usually 30 seconds to 2 minutes depending on temperature and humidity. Check your specific product’s instructions for its exact flash time.
Is it bad to coat the whole car before wiping any of it off?
Yes, this is one of the most common mistakes. Coating multiple panels before wiping means the coating on the first panels will start curing before you get to them, making it much harder to remove cleanly.